This dress looks like a stern grandmother. Not the kind that bakes cookies with you. Oh, no. We're talking about the grandmother who gives your house the white glove treatment and notices every etiquette infraction. We must stop her! But how can I possibly transform this dress into something fun? I don't think this dress has ever had fun.
Which has you asking yourself why I bought it, right? For starters, it was only $0.51. For that price, I am willing to take my chances. Second, it has this cool shirring-at-the-shoulder detail:
I'm not so crazy about the shoulder pads and the puffed sleeves, but that shirring is great.
My first step in giving Grandmother an update was a lovely, soothing Rit dye bath to tone down some of that pattern:
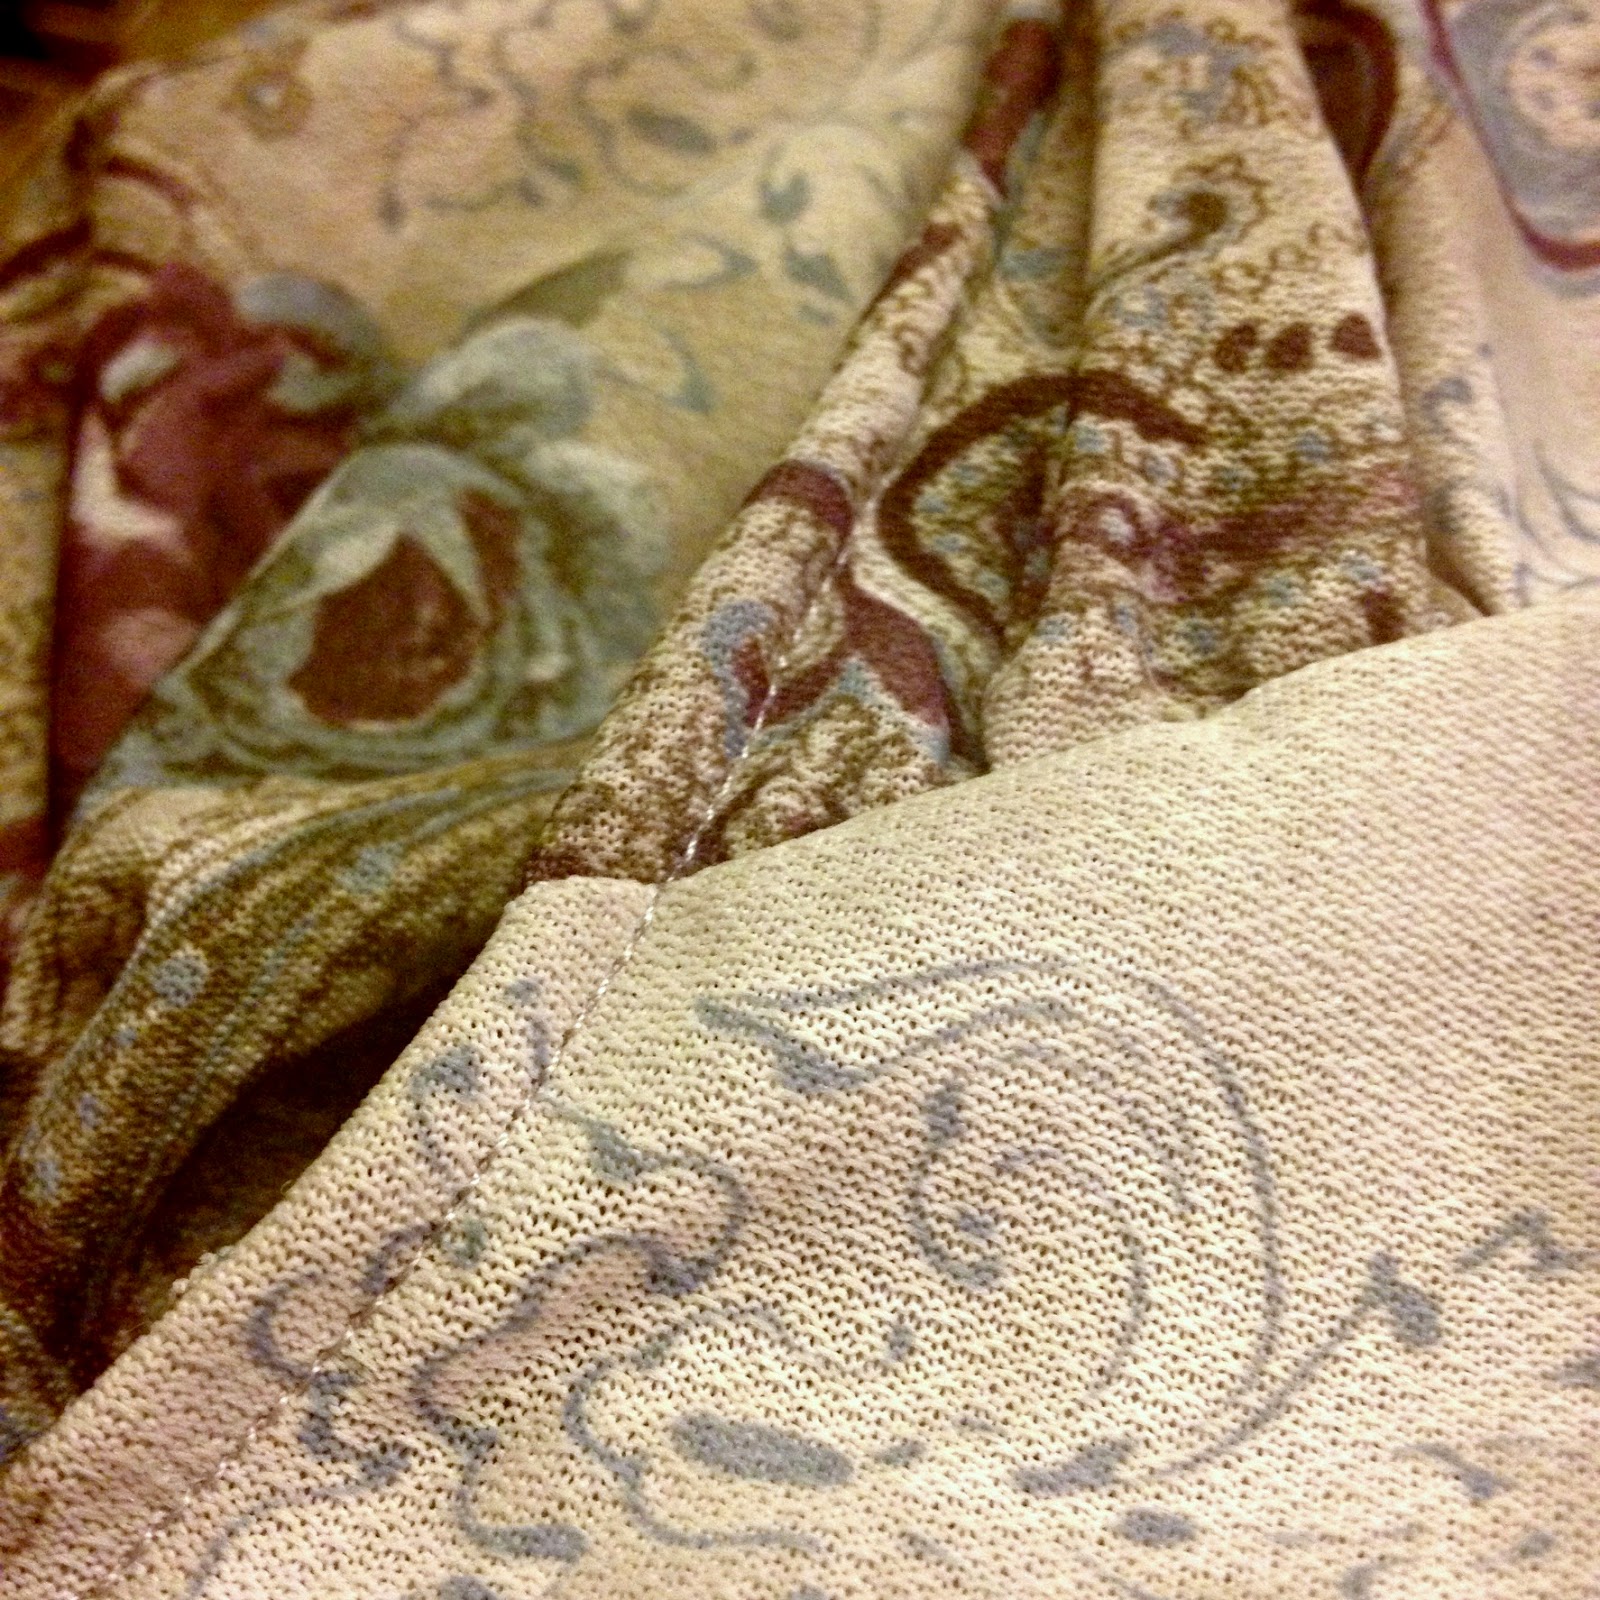
But Grandmother wasn't having any of that nonsense. That's right, folks. The Grandmother Dress was the exact same color after the dye bath as she was before it. How can that be?
She is a polyester knit. Polyester doesn't take dye.
Don't worry. Other dresses swam in that bath, too. The dye bath wasn't a total waste.
But trying to change the color of this dress was a total waste.
Back to the drawing board.
Next I chopped out the shoulder pads since I wasn't planning on playing football in this. Under the shoulder pads there was another layer of poofiness!! Strange stiff black things lurked under there to ensure my shoulders would look as wide as any man's. Off they go, too.
Now for the dress. Some of it has got to go. Actually, a lot of it has got to go. Off with her arms!
I carefully cut off the sleeves (I avoid seam ripping whenever possible.) Then I took a look at that hem. I needed something unusual to perk up this pattern, so I opted for an angled hemline. I tried it on before deciding where to cut. There is nothing worse than cutting a dress while it's lying on the floor (hipless, I might add), then trying it on and finding out that inserting my hips totally changes the lines of the dress. After careful consideration, I cut the "dowdy" right out of this dress.
Well, almost. That neckline was still pretty dowdy. I made a new neckline template from card stock. Using the template as a pattern, I cut some of that neckline away. I left the back of the neck as it was, making the changes starting at the front shoulder line -- that way I wouldn't have to reconstruct the back of the dress. I would have less work. I like less work.
I cut a narrow strip of fabric to use as a sort of casing for the neckline edge. This fabric has a teensy bit of stretch, so it will handle curves. Otherwise I would have needed my fabric strip to be cut on the bias.
To apply the edge, I lined up the fabric strip with the new neckline edge, right sides together. (I folded the start and end points of the strip under at the shoulder line for a finished look.) Then I sewed a 1/4 inch seam allowance around the neckline. Next, I made tiny cuts along the seam allowance up to the new seam line, being careful not to cut the stitches. This helps the fabric give a little and lay flat with the curved contours. Then I opened up the fabric strip, folded the strip to the inside edge and pinned, like so:
I stitched in the ditch from the front side, then trimmed away the excess strip fabric on the inside. The fabric is knit, so it won't fray. Otherwise, I would have turned the inside edge under before I stitched in the ditch. If that doesn't make sense to you here's a tutorial on how to apply bias tape to a neckline.
Now that I didn't need to worry about the neckline stretching all out of shape, I could work on the rest of the dress. The top of the dress was pretty blousy, which is fine if you're Twiggy, but not so flattering on me. I took in several inches on each side, but only down to the waist. I wanted to keep the swing-i-ness of the dress (now tunic) below the waistline. I flipped the dress inside out and let my machine do the dirty work. Zoom. Zoom.
Now for the sleeve holes. Taking up the sides of the dress automatically made the gaping armholes smaller. Which is good. Women should retain some element of mystery, and armholes that big eliminate all mystery, if you know what I mean. Since the armholes were already a manageable size, I just turned the fabric under, pinned and sewed a 1/4 inch seam:
Since I wanted the hemline to retain it's swingy feel, I opted not to sew a hemline. A hemline would have made the hem too heavy and stiff. And this is a knit, so it won't fray like a woven. I just made sure the hemline cut was nice and even. And that means I'm done!
No more Stern Grandmother Dress. Here it is with a jacket, because I wouldn't want my naked shoulders to make a public appearance or anything.
My teenage daughter actually told me it was something she would wear. Whoot whoot!
So, I'm curious. Have you ever done a refashion? How did it go for you?
Have a great day!
Angela
Never miss another post! Follow Gallimaufry Grove in the sidebar!